Resin Calculator
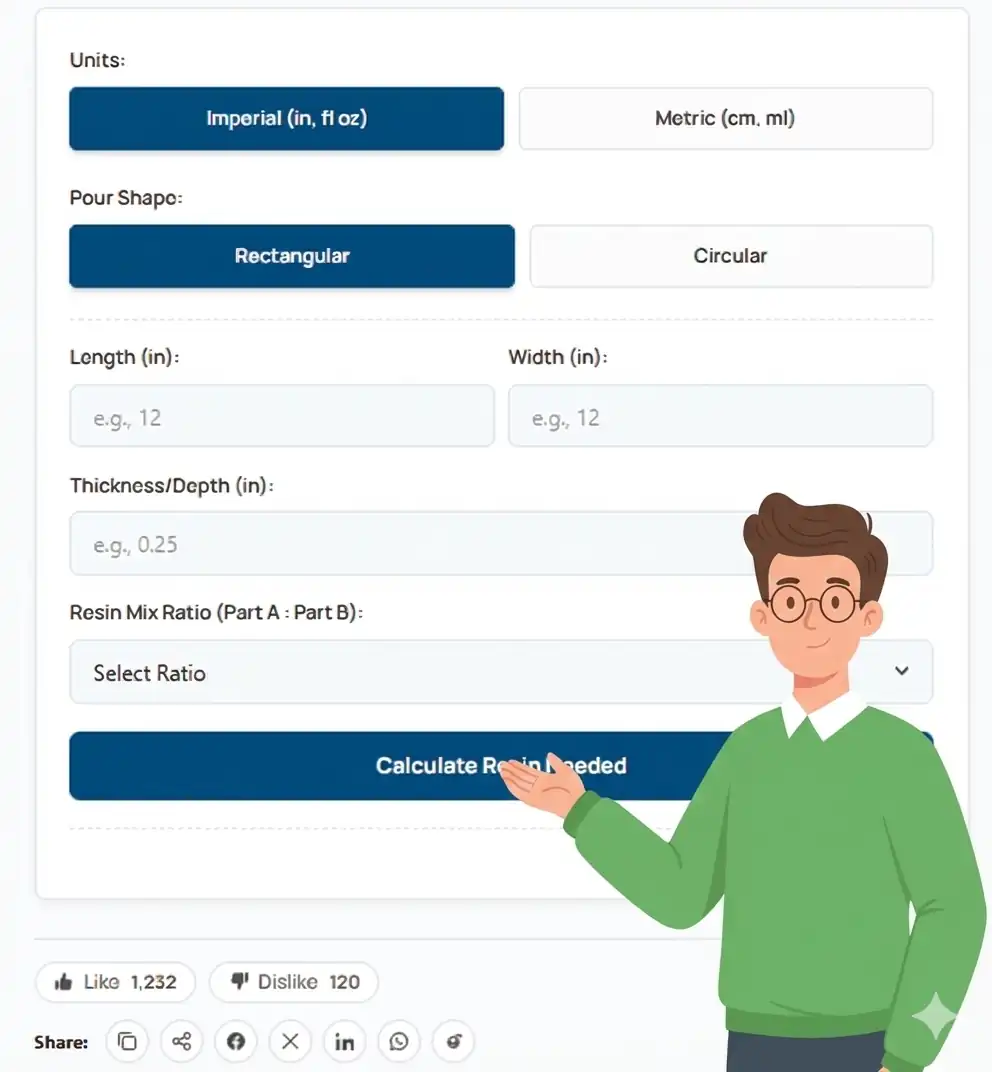
A Resin Calculator measures the total volume of epoxy needed for your craft projects based on shape and thickness. Artists and woodworkers in the USA use this tool to determine the exact mix of Part A and Part B. Specifically, it calculates amounts for rectangular and circular pours. You can find your resin requirement instantly today.
You can stop wasting expensive materials on your projects now. This engine provides a professional estimate for various river tables and jewelry casts. First, you will select your pour shape from our interactive list. Second, you will give the length, width, or diameter. Finally, you click calculate to see the total fluid ounces or milliliters. Therefore, you can manage your hobby costs with total confidence. Use our tool to plan your next art piece with accurate data.
- Updated Feb 10, 2026
Resin Calculator: Estimate Your Epoxy Project Volume Instantly
You can find the exact amount of epoxy for your project by using the tool below. Please enter the physical dimensions of your mold to receive a professional report. Our engine processes your data against volume formulas used by top resin manufacturers in the USA. You should have your project dimensions ready before you start the calculation.
RESULT INTERPRETATION
Your report highlights the precise volume of epoxy needed for your craft. These figures help you understand the project costs. Also, you learn the specific material demands of your work. Specifically, you should look at the Total Volume first. The total volume represents the full amount of mixed resin required to fill your mold. For instance, knowing this number prevents you from running out of material mid-pour. You can use these data points to prepare your mixing cups. Therefore, you can keep your workspace clean and organized.
Understanding the Mixing Breakdown
The Mixing Breakdown provides a stable metric for your Part A and Part B components. Specifically, it shows the exact amount of resin and hardener you need. A correct ratio allows for a chemically strong and clear cure. Consequently, you can follow the manufacturer’s instructions for the best results. You should also check the total volume to ensure your mixing container is large enough. For example, a container that is too small can lead to messy spills. Therefore, your preparation supports a professional finish.
Using Your Results for Better Crafting
You can manage your art supplies more effectively with these precise figures. Accurate tracking helps you avoid the common trap of over-mixing expensive resin. For example, many crafters waste money because they guess their volume. Therefore, you should rely on these facts to balance your material inventory. Also, accurate volume data helps with calculating the amount of pigment or glitter. You should check your results every time you change your mold size. Consequently, your resin art will remain a beautiful and cost-effective hobby.
Quick example to check the math
You can see how different mold sizes change your project volume. Specifically, these real-world examples show how surface area and depth work together. You should compare these profiles to your own craft measurements. Following this method helps you set realistic goals for your art project.
Example 1: Standard Serving Tray
Imagine an artist who measures their rectangular mold in the morning. They have a surface area of 144 square inches. Also, their desired thickness is 0.25 inches. Our tool shows a total volume of 19.94 Fluid Ounces for these dimensions. A volume of roughly 20 ounces indicates a healthy amount for a medium-sized tray. Therefore, this person can successfully mix their Part A and Part B for a perfect finish.
Explore More Calculators
Use our Pipe Weight Calculator to find the exact mass of steel, aluminum, and PVC pipes. Get precise structural data for shipping and installation…
Try calculatorUse our Acres Per Hour Calculator to find your field capacity. Get precise mowing time and productivity estimates for farm equipment today.
Try calculatorYou can use our free copper power calculator to find your exact quarantine dose. First, enter your net water volume. Next, discover your total…
Try calculatorUse our Flooring Calculator to find the exact material area and total cost for your home. Get precise estimates with waste allowance for any…
Try calculatorUse our Glass Weight Calculator to find the exact mass of any pane. Get 100% accurate weight for tempered, float, and laminated glass in…
Try calculatorUse our Paver Sand Calculator to find the exact bags needed for your patio. Get precise weight and volume estimates for your landscaping project…
Try calculatorHow to Use the Resin Calculator
You can estimate your resin needs in just a few seconds. Our tool follows a professional sequence to ensure your data is accurate. Please follow these five simple steps to calculate your specific volume. Specifically, these steps help you avoid mixing too little material for your art.
Select Your Preferred Units
First, you must pick between the Imperial and Metric systems. You should use Imperial for inches and fluid ounces. Also, you can pick Metric for centimeters and milliliters. Using the correct units keeps your math precise for the mold size. Therefore, you should check your ruler before you start the calculation.
Choose Your Pour Shape
Next, you will select the geometric shape of your project. You can choose from rectangular or circular pour designs. Specifically, the tool uses unique formulas for each profile. Selecting the correct shape is essential for a real estimate. Consequently, a proper choice leads to a perfectly filled mold.
Enter Physical Dimensions
Third, you must provide the length, width, or diameter. You can find these numbers by measuring the inside edges of your mold. Specifically, these values determine the surface area of your resin pour. You should be very accurate with these measurements. Consequently, you will have enough material to cover the entire surface. Accurate measurements prevent gaps in your final piece.
Input the Pour Thickness
After that, you will enter the desired thickness or depth of your resin. You should consider the maximum depth recommended by your resin brand. Some resins work for thin coats. Conversely, other brands work for deep pours. Using the correct thickness ensures a safe cure. Therefore, you should verify your project depth against the product label.
Process Your Resin Data
Finally, you will click the blue button to view your results. The engine analyzes your dimensions against geometric standards. You can use these facts to measure your Part A and Part B. Therefore, you can finish your project with total precision. Accurate data ensures your resin cures evenly. Consequently, you will avoid sticky spots or holes in your work.
Example for testing
You can try these sample numbers to see how the tool works. First, select the Imperial unit system. Second, enter a length of 12 inches, a width of 12 inches, and a thickness of 0.25 inches. These inputs represent a standard casting environment for a clear epoxy project.
Result → Your total volume hits 19.94 Fluid Ounces. Your surface area and pour depth work together here. This score provides a balanced view of your material needs. It equals a reliable and stable volume under normal room conditions. Now, enter your own numbers and check how close you are to your goal.
Now, enter your own numbers and check how close you are to your goal.
How the Resin Calculator Formula Works (Complete Breakdown)
You should understand how the math determines your project volume. This formula provides a realistic estimate of your resin needs. It is based on standard geometric rules for solid shapes. The logic separates physical dimensions from your personal art goals. This ensures the result is accurate for your specific craft. Specifically, you can rely on these figures to prepare your mixing cups.
The Volume Calculation Formula
The calculator starts with your raw surface measurements. Then it applies a conversion factor to standardize the units. This method identifies the perfect balance between surface area and depth. Balance is when the tool finds the total cubic space within your mold. Specifically, the math identifies how much liquid epoxy occupies that space.
Formula:
Volume = Length x Width x Thickness
The formula begins by calculating a base number for your surface area. It multiplies the length of your mold by the width. This step finds the total square inches or square centimeters. Finally, it multiplies that area by your pour thickness. This calculates your personalized resin requirement. Therefore, you get a single number for your project log.
Example:
					Imagine a crafter who has a rectangular mold. It is 12 inches wide and 12 inches long. He wants a resin thickness of 0.25 inches for a clear coating.
1: Area Factor: 12in x 12in = 144 in²
2: Cubic Factor: 144in² x 0.25in = 36 in³
3: Volume Conversion: 36 x 0.554 = 19.94 fl oz
The final result is 19.94 fluid ounces. This score represents a standard medium-sized tray project. Use this number to prepare your Part A and Part B mixtures.
Micro Note:
This calculator predicts resin volume based solely on standard geometric shapes. Irregular art pieces with sloped edges or deep voids are a different category. Those features do not provide the exact dimensions needed for a simple geometric score. Most users should stick to average measurements for their first few months of tracking. Therefore, you should add a small buffer for complex molds.
Key Inputs Used in the Calculator
Every calculation depends on specific physical inputs. These inputs change how your resin fills the mold. By entering your real details, you get a custom art report instantly. Professionals use these same factors to build large river tables. For instance, woodworkers verify these traits before starting any heavy pour.
Surface Dimensions
This is the most potent factor for your score. Length and width determine whether your project requires a small bottle or a large kit. A larger surface requires more material to maintain a level finish. Consequently, your total volume stays high when the surface is large. Therefore, you should measure the inside edges of your mold.
Pour Thickness
Your thickness affects the chemical cure and clarity of the resin. A high thickness indicates that your project requires a deep-pour formula. This factor helps the tool find your natural material-holding capacity. For instance, a thin coat can offset an extensive surface area reading. You should verify your depth against the resin manufacturer’s limit.
Mix Ratio Selection
Your choice of ratio overrides the raw volume you enter. Different brands often use 1:1 or 2:1 ratios. Selecting the correct ratio is the most significant predictor of a hard cure. For example, picking the wrong ratio can leave your project sticky or soft. Therefore, you should check the label on your resin bottles before mixing.
Another Example Calculation (Step-by-Step)
Let’s see how the resin calculator works for someone else. This will help you understand how each factor affects your final volume. The calculation follows the same logic used by industrial designers worldwide. Specifically, this enables you to compare different shapes.
Given:
- Shape Style: Circular Mold
- Diameter: 10 inches
- Thickness: 0.5 inches
Calculation:
					We first find the radius by dividing the diameter by two. Then we calculate the area, multiply it by the thickness, and apply the conversion constant.
π x 5² x 0.5 x 0.554 = 21.75 fl oz
Result:
Recommended Goal: Prepare Mixing Cups
Total Volume: 21.75 fl oz
Status: Standard Circular Casting
Meaning:
Your volume score is exactly 21.75 fluid ounces. This confirms a focus on optimal clarity and material use. Pro resin artists often see this pattern during their design phases. A result of 21.75 is very efficient for standard silicone molds. Most people starting a project would typically see a volume below 10 ounces during their first week.
RESIN PROJECT BENCHMARKS (TABLE)
Most resin artists use these size benchmarks to track material needs. Therefore, you can trust these numbers for your project planning. You should use these values to evaluate your current setup. Also, these figures help you choose the right resin type for your specific volume. Specifically, knowing your category enables you to buy the correct kit size. Consequently, your projects will cure correctly without wasting expensive material. Similarly, you can compare different designs to find the best fit for your artistic goals.
| Project Type | Typical Volume | Category | Best Resin Type |
|---|---|---|---|
| Jewelry/Charms | 0.5 – 5 fl oz | Small | UV or Fast-Cure Resin. |
| Coasters/Trays | 5 – 20 fl oz | Medium | Standard Table Top Resin. |
| River Tables | 50 – 500+ fl oz | Large | Deep Pour Epoxy Resin. |
Heads-up: Actual resin volume can vary based on the number of flowers, glitter, or wood inserts in your mold. Always add about 10% to your total volume to account for spills and cup waste.
Interpretation
A volume between 5 and 20 fluid ounces is standard for backyard hobbyists making coasters. Therefore, this range provides a balanced feel for general home crafting. However, volumes above 50 fluid ounces are much more maintenance-intensive. You should prepare for a project that requires careful temperature control to avoid flash curing. Conversely, smaller projects should stay within the lower ranges to maintain total control over your artistic detail. Specifically, these levels help you build beautiful pieces without the risk of high material costs.
Pro Tip:
You can check the viscosity of your epoxy before every pour. For example, a warm resin flows better and helps your mixing cups reach an accurate volume. Confirming your total capacity ensures your plan matches your actual kit size. You should always prioritize your calculated volume over your visual estimates for the best experience. Furthermore, this consistency helps you identify your actual project costs without any guesswork during the curing phase.
Tips & Planning Based on Your Result
You can improve your artistic results by following these expert tips. Finding your resin volume is just the first step for a healthy crafting lifestyle. You should apply these insights to maximize the benefits of every project. Specifically, focus on your mixing routine and your workspace to see the best results.
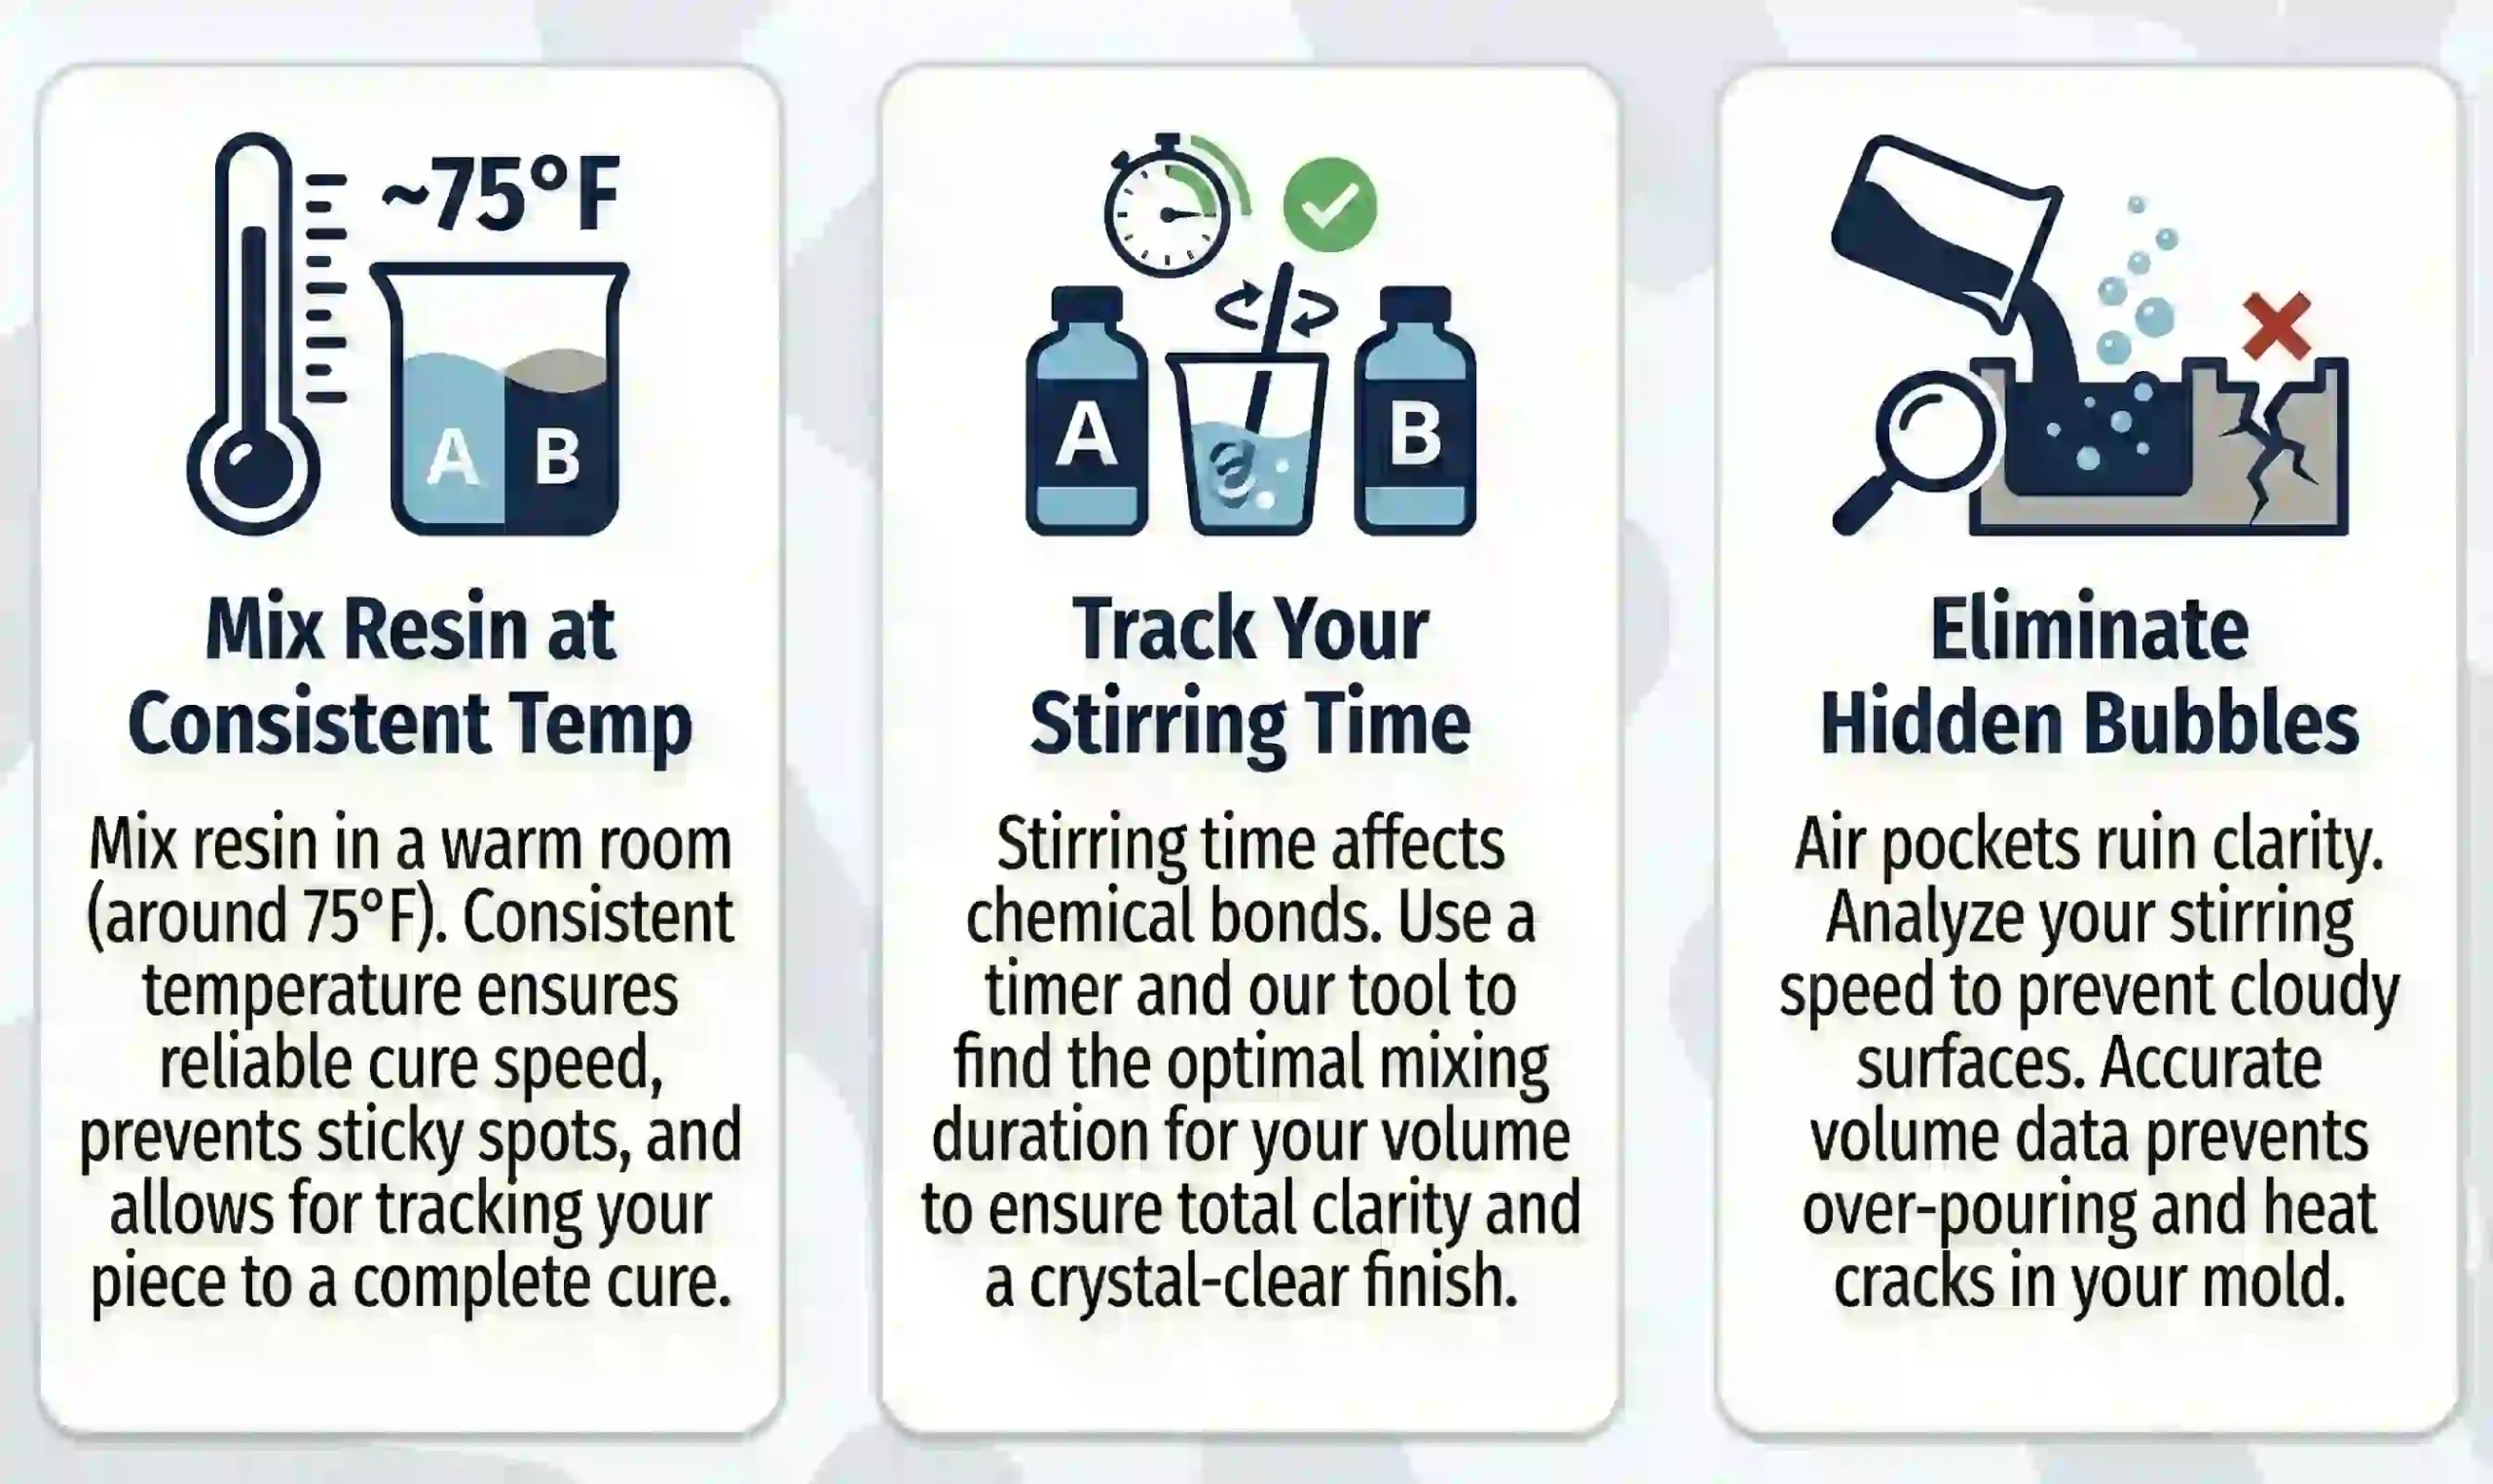
Mix Your Resin at the Same Temperature
You should mix your resin at the same room temperature every time—specifically, the viscosity and cure speed of your epoxy change throughout the day. You will get the most consistent results in a warm room around 75 degrees. Therefore, maintaining a steady climate is the best plan for your daily art assessment. A consistent schedule helps you track your progress without any confusing sticky spots. Consequently, you will know exactly when your piece reaches a complete cure.
Track Your Stirring Duration
You should track how long you stir the mixture of Parts A and B. Specifically, shorter stirring times tend to lead to weaker chemical bonds. You must use our tool to see the direct impact of volume on your stirring needs. Consequently, you will understand how many minutes of mixing it takes for your volume to reach total clarity. Such data allows you to optimize your prep time for better quality. Therefore, you can maintain a crystal-clear finish while saving your art from failing.
Watch Out for Hidden Bubbles
You must watch out for hidden bubbles in your mixed resin. Actually, a sudden spike in air pockets will ruin your project’s clarity in an instant. You should analyze your stirring speed if your surface stays cloudy for several minutes. Clearly, tracking your mixing style helps you maintain a deep, glass-like transparency. Reliable volume data ensures your resin remains in a high-performance zone. Specifically, accurate facts prevent you from over-pouring and creating heat cracks in your mold.
You Might Also Find These Helpful
Home 8
Use our Pond Volume Calculator to find the exact water capacity of your garden feature. Get custom data for pumps, filters, and liners today.
Try calculatorYou can use our free well volume calculator to find your exact water capacity. First, enter your pipe depth and diameter. Next, discover your…
Try calculatorCommon Mistakes to Avoid When Calculating Resin Calculator Volume
You can avoid many errors by learning from experienced resin artists. Specifically, simple mistakes often lead to uncured or sticky results. You should review these three common errors before you start your project. Accurate tracking helps you reach your art goals much faster.
- Confusing Weight and Volume: Many users mix resin by weight when the brand requires volume. This mistake yields a chemically incorrect ratio. Specifically, resin and hardener have different densities. Therefore, you must follow the specific instructions on your resin bottles.
- Ignoring the Meniscus Effect: You might find that your mold needs slightly more resin than the math suggests. The liquid surface can curve at the edges. This effect is the meniscus. You should always round up your final calculation to the nearest 10%.
- Mixing Different Unit Systems:Mixing centimeters and inches will ruin your calculation instantly. Consistency is the most critical factor for success. You should use the same unit system for every dimension in the tool.

Frequently Asked Questions (FAQs)
How do I calculate the volume of an irregular mold?
You can calculate an irregular shape by breaking it into smaller rectangles. Specifically, you should measure each section of your mold separately. Then you must add those individual volumes together for a total estimate. Therefore, you can achieve very close results even with the most unique designs. Consequently, you can still mix your resin with total confidence.
Why is my resin sticky even after using the calculator?
Resin usually stays sticky because of an incorrect mix ratio. Specifically, the chemical reaction fails if you use too much or too little hardener. You should use our tool to find the exact amounts for your specific ratio. Also, you must stir the mixture thoroughly for at least three minutes. Consequently, your resin will cure into a hard and glass-like surface.
Does temperature affect my resin volume?
Temperature does not significantly change the physical volume. However, it does change how the liquid flows and cures. Specifically, cold resin is very thick and traps more air bubbles. You should work in a warm room to ensure the material fills every corner of your mold. Accurate volume planning works best when the epoxy is at room temperature.
How much pigment can I add to my mixed resin?
You should typically add no more than 5% pigment to your total volume. Specifically, adding too much dye can interfere with the chemical curing process. You can use your total volume result to find the exact limit for your colorant. Therefore, your resin will stay strong while achieving a vibrant color. Consequently, your art pieces will remain durable for many years.
What is the best way to measure deep pours?
The best way to measure deep pours is to use the specific depth of your wood or mold. Specifically, deep pour resins allow for several inches of material to be poured in a single go. You should enter the full depth into our calculator to find the total requirement. Therefore, you can buy enough resin for the entire project at once. This saves you money and reduces the risk of visible layer lines.
Should I calculate extra resin for cup waste?
Yes, you should always calculate about 10% extra resin for waste. Specifically, some material will always stick to the sides of your mixing cups. Also, you might experience minor spills or drips during the pour. Having a small surplus ensures you can finish the project without stopping. Consequently, your final surface will be level and professional.
Questions?
We had love to hear from you! Whether you are reporting an issue, suggesting a new calculator, or exploring collaboration opportunities — we are here to help. Every message helps us make 100calc smarter, faster, and more helpful for everyone.
Why People Trust 100calc
At 100calc.com, we focus on accuracy, speed, and trust. Every calculator we create is designed to give reliable, instant, and easy-to-understand results you can truly depend on.